Exterior House Painting – Here are the Top 8 Things To Keep In Mind!
1: Work Around The Natural Elements
We’re sure it doesn’t come as a surprise that rain, humidity, and debris-carrying wind could potentially ruin a paint job if proper planning and precaution are not taken. To minimize the risks posed by mother nature, plan on starting your painting project during a time of year with mild weather, and don’t forget to check the forecast!
2: Buy High-Quality Paint
Bargain paint brands may tempt you with a lower price tag, and while it will take a sizeable quantity of paint to properly cover the exterior walls of most homes, we strongly advise buying paint based on quality rather than price! A better class of paint will last much longer, and that’s especially relevant for an exterior paint job where the surfaces will be put under the most strain. Plus, better paint will save you money in the long run by putting off the need to repaint by a margin of years!
3: Make Sure Your Surfaces are Ready
If the exterior surfaces of your home are dirty, or if the previous coat of paint is beginning to peal, be sure to wash, scrape, and sand before getting started. Depending on the state of your walls this could be a labor-intensive part of the job, but if you rush through it we guarantee you will regret it later!
4: Clear or Protect The Surrounding Area
Painting can be a messy job, and no matter how careful you are, uncovered furniture, outdoor appliances, and decorations are bound to get splattered or dripped on if you leave them unprotected near the surfaces you’re painting. Covering them up or moving them out of the way is a must. Be sure to use canvas or another suitable protective cover to prevent paint from splattering the ground as well.
5: Primer is A Must, One Way or Another
Primer has always been a necessity for a high-quality paint job. Nothing about that has changed, so be sure to factor priming into the job. However, depending on your case, a combination paint + primer may be able to get the job done just as well. But be sure to do your research on the product before diving in!
6: Combine Paint Cans Into A Larger Container
This is a secret that pros like the painters at FCI Painting Corp follow, but homeowners may not know about. To ensure the paint color matches across your entire project, it’s a good practice to combine smaller cans of paint into a larger container like a 5-gallon bucket. This is particularly important if you’ve purchased the paint on separate occasions (e.g. you ended up needing to go back for more paint after you made your initial purchase). As a bonus, this will make storing your paint easier with fewer containers to worry about.
7: Start From The Top!
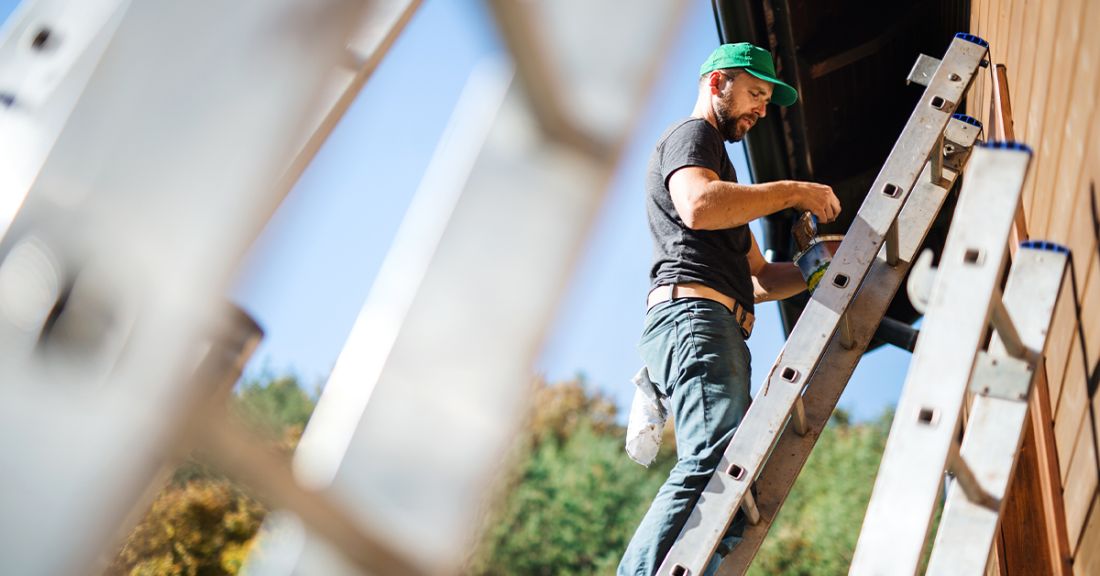
This one feels like a no-brainer, but you would be surprised how many first-timers get it wrong! If you paint from the top down, you will be able to better control drips and eliminate streaking. Drips are all but inevitable, but working with gravity will allow you to smooth them out as you go.
8: Seal Your Cans Well to Save Your Paint
Paint cans can be frustrating to open and can be even more tricky to close. If you’re storing your paint in the original cans, using a rubber mallet to ensure a tight seal can mean the difference between fresh paint and a dry, crusty film forming on the top. Taking this step is important at the end of each day’s work, and it’s even more essential when you’ve finished the job and the paint is destined for long-term storage.
To Guarantee A Quality Job, Call The Pros!
These eight tips are enough to get you started, but be sure to do your research about proper painting tools and techniques that will best suit your job. And if it all feels like a bit much, feel free to call the pros! We have more than 25 years of experience helping southwest Florida homeowners and businesses with all of their painting needs and can be reached by our online contact form, or by giving us a call at (239) 435-1001.


